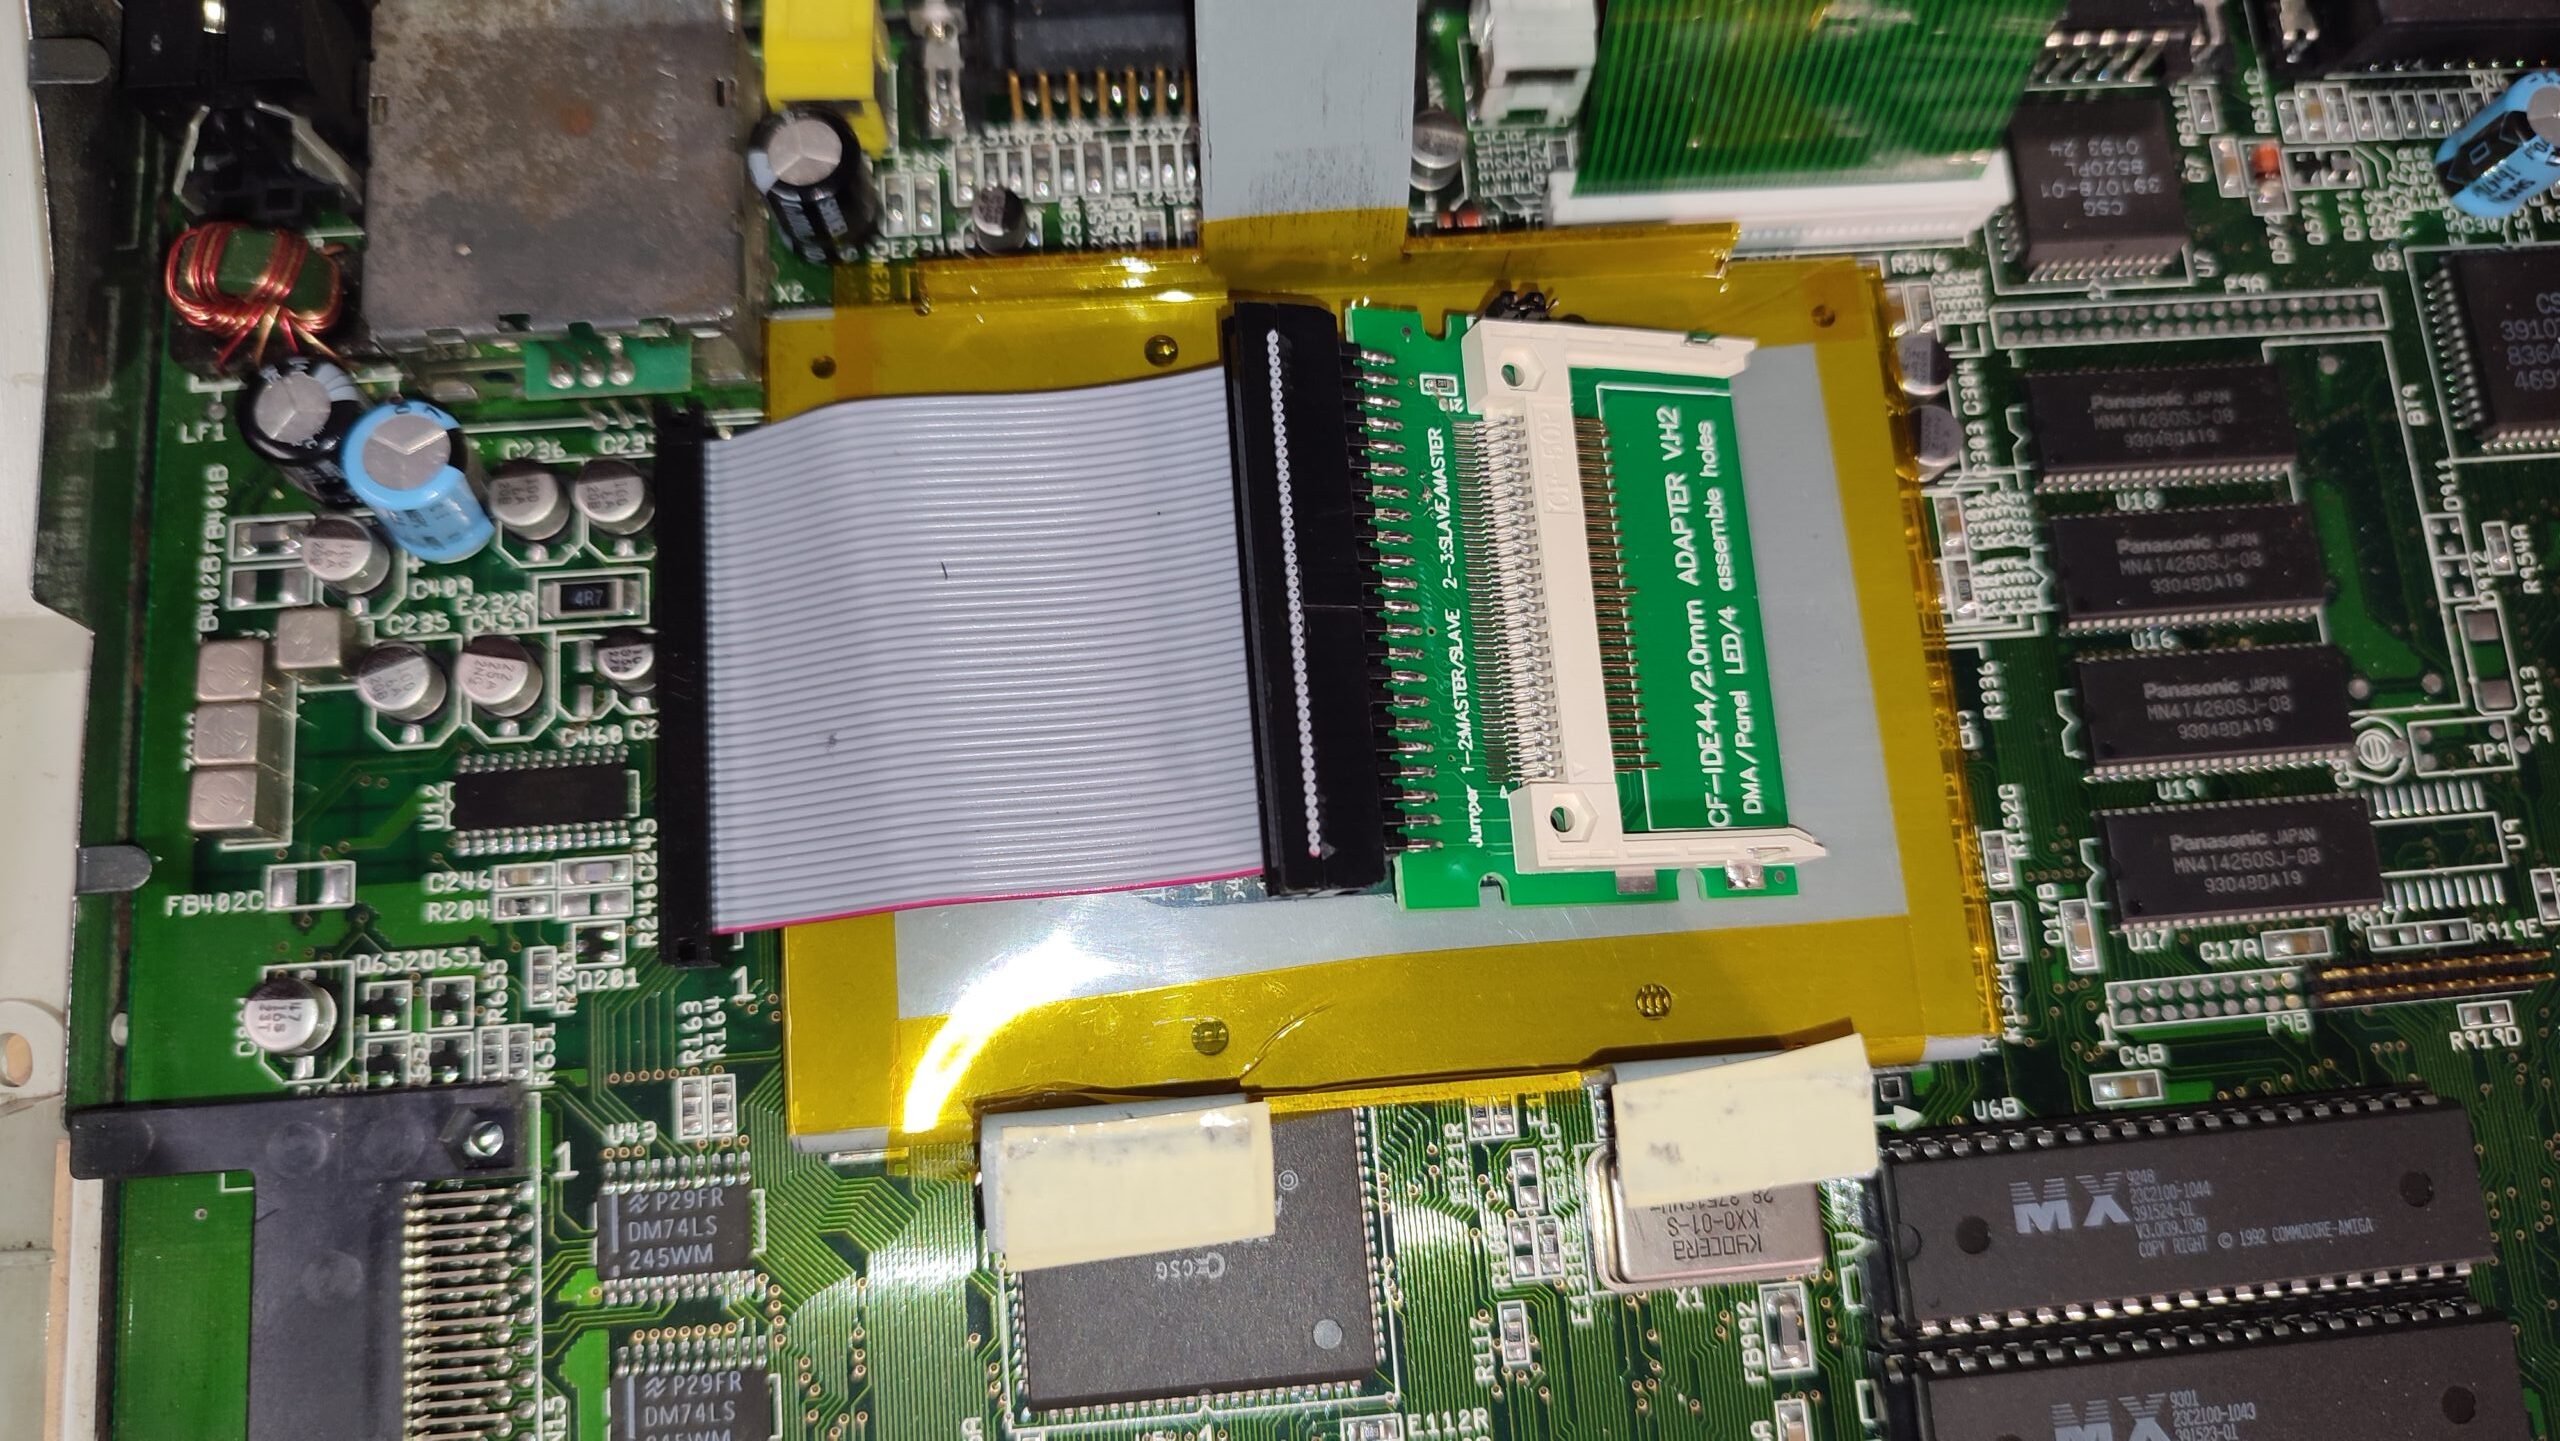
Probably the first thing one needs with an Amiga 1200 is a hard drive. So I got one of those cheap Compact Flash to IDE adapters and a 4GB Compact Flash card.
The adapter needs to have a 44 Pin connector. Note, that this is not the usual 0.1 inch pin pitch which is used with most IDC connectors like the common 40 pin IDE cable. This connector is usually used for 2.5 inch drives and has a 2mm pin pitch.
Also a little research turned out that some CF-Adapters have a problem which causes the HDD Drive LED of the Amiga not working. To be on the save side, it’s recommended to get an Adapter with the designation V.H2.
I used the original hard drive bracket and padded it with a plastic sheet in order to avoid contacts with the metal.

There are many guides about how to partition and format the CF card. So I won’t go into details here. I basically followed this guide in which the card is prepared on a PC within WinUAE.
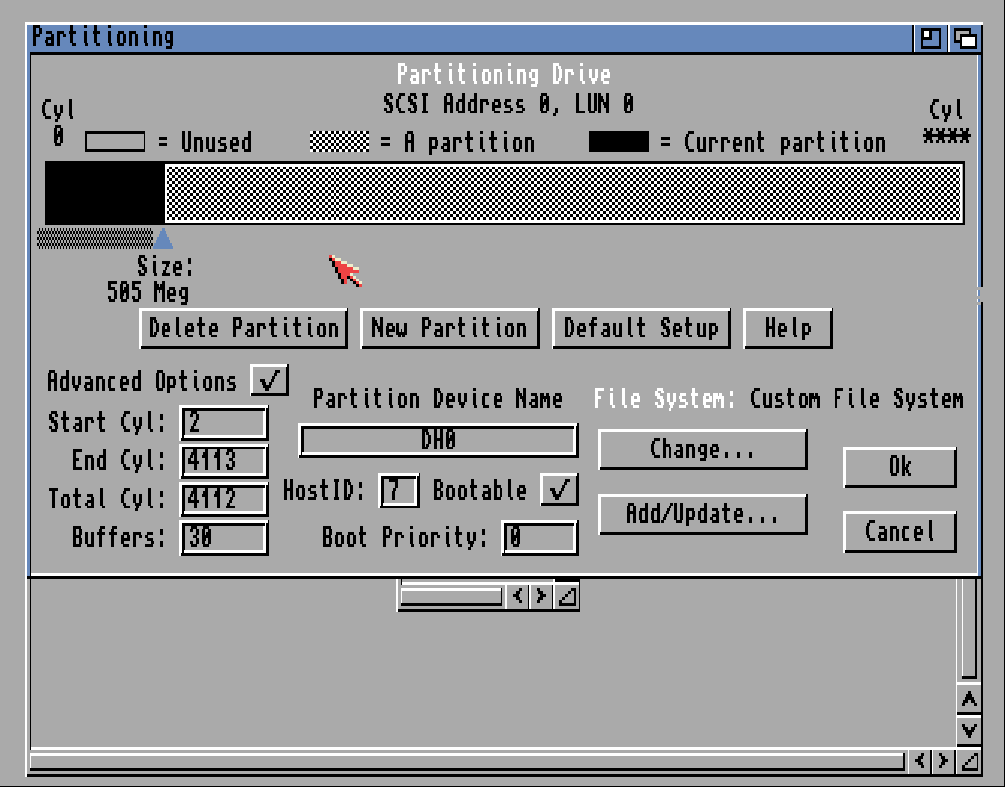
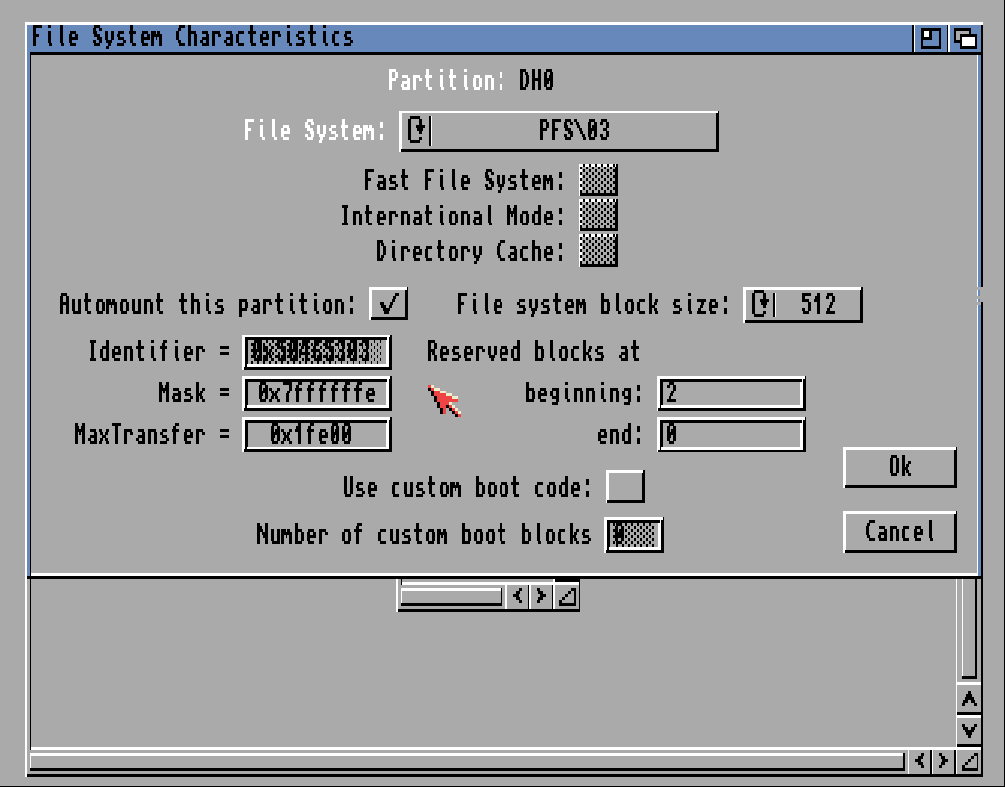
I decided to create two partitions. The first (DH0) with about 500 MB and the second (DH1) with the rest of the space. On both partition I used pfs3aio as the file system. The screen where you change the file system and MaxTransfer looked a little different. Here I chose PFS/03 and entered 0x1fe00 under MaxTransfer. IMPORTANT: You must press enter after entering a number. Otherwise the number won’t register, if you just hit the Ok button.
I had a weird phenomenon the first time I tried all this. Right after starting HDToolBox I got following message:
Drives have been added or removed from the system.
This information needs to be recorded on some other drives in the system. These drives will be marked as “’Changed’ under ‘Status’.
And at the end when exiting HDToolBox:
A reboot is required to make your changes take effect.
Select “Continue” to reboot. Select “Cancel” to go back to the program.
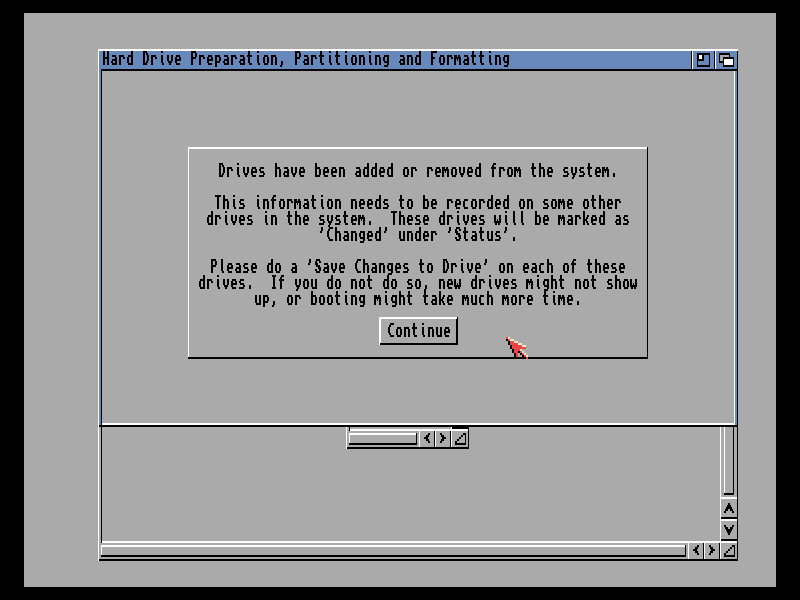
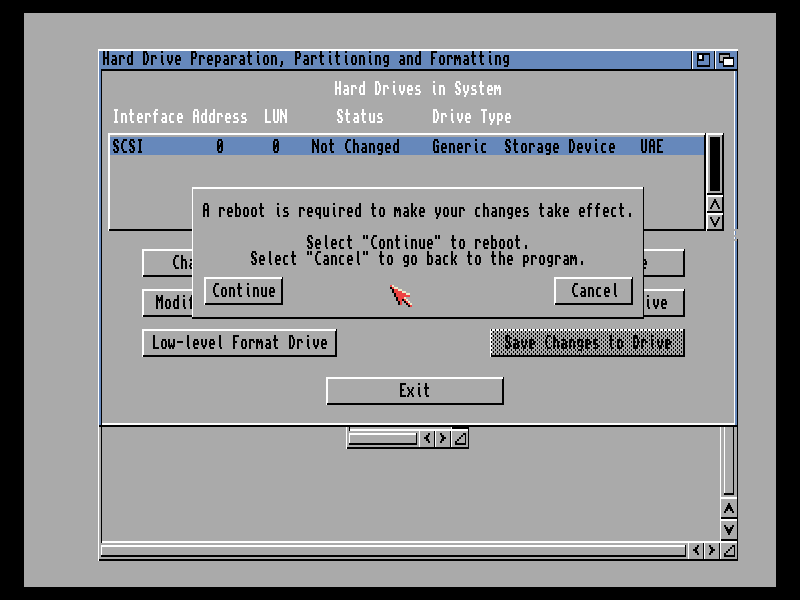
Both dialogs weren’t mentioned in any of the tutorials I looked at. And after exiting HDToolBox and rebooting the Amiga the hard drive seemed unchanged and without any partition information.
After googling for a while, I came across a post on the English Amiga Board where someone mentioned that you have to use an older version of WinUAE in order to get around this problem. I then used version 3.6.1 instead of WinUAE 4.4.0, and the problem actually went away. None of the dialogues reappeared. The strange thing is that it worked with WinUAE 4.4.0 on a later try with the same CF card. I even deleted the partition table again with diskpart. Maybe it depended on data that has been already on the CF card beforehand.
The rest of the installation of the workbench took place without any further problems. I installed Classic Workbench Lite. Since my Amiga only has 2 MB Chip Ram and no Fast Ram, I refrained from installing the full version and chose the lite version. My Amiga 1200 has a now a shiny new hard drive with Classic Workbench 3.1 on it.

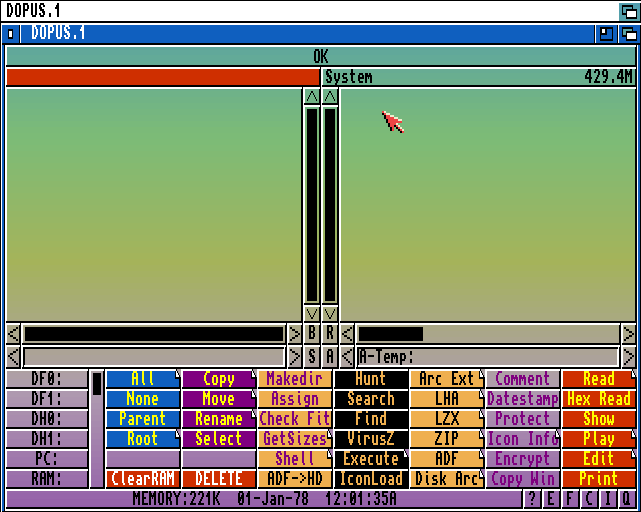
Since I’ve read a on many places that it’s pretty easy for the Amiga to trash the file system, I’ve looked into how to back up the CF card. Win32DiskImager which I used to backup SD cards doesn’t seem to work on the current version of Windows 10 anymore. But then I tried Drive Snapshot, which I usually use to backup hard disks. It has no problem to backup and restore CF cards as well. It even compresses the backup quite well (from 4GB down to 300MB).
Finally, I found out that the entire CF card data can be saved as a hard file (.hdf). The hard file can then be attached to WinUAE as a hard drive. The hard file can later also be copied back to the CF card again. I used 010 Editor (a hex editor) which can open a whole drive on a physical level. Here I can save the entire data into a file and later copy it back onto the CF card again. But any tool which can read and write to the CF card on a physical level like dd on Linux would do the job as well.

Pingback: Amiga 1200 HDD LED not working with some CF Adapters – RasterInterrupt